Hi, this post details the new Interactive Maps Project we're organizing on the wiki! We want to have maps of all locations in Undertale and Deltarune that interactively show markers with relevant information about the marked objects. You can take a look at how these maps could look like on any of the location pages on Undertale Wiki, or some of the map pages on Deltarune Wiki!
Motivation
This project, admittedly, won't have an immediate impact on the wiki's ranking in search engines. However, we think it would be a super cool feature to have, and we can embed these interactive maps on several places throughout the wiki, starting from location pages themselves and maybe even showing item locations using these interactive maps. We also think they are great when helping people out with the game, if they are stuck on any particular point.
What can you do
There are generally two parts to this project:
- Assembling map images
- This step consists of extracting all rooms from a specific area from UndertaleModTool, cleaning them up and assembling them into a larger map image.
- We are not currently missing images for any locations.
- Annotating the maps
- This involves writing descriptions for every relevant object on the map, adding annotations for disconnected parts of the map, to help guide players through puzzles etc.
- The following locations haven't yet been assigned for annotation:
- Hometown
- Cyber Field
- Cyber City (missing marker descriptions)
- Queen's Mansion
How can you do it
The procedure depends on what you're doing. I'll put the procedure in collapsible sections so you can choose what you need. If you need help with any of these steps, it's best if we discuss over at the Discord server. But if you don't want to join the server, you can post here asking for assistance too!
I want to create map images
Creating map images
To find the maps themselves, we recommend the following strategy:
- Get UndertaleModTool
- Open the relevant chapter's data.win
- Remove or hide all objects that are not useful to have on a wiki map from the rooms that you're going to assemble together
- Use
Scripts > Resource Exporters > ExportAllRoomsToPNG.csxto extract all the rooms in the chapter to a folder - Walk around the in-game area to see what is missing from your map
- If there are things that might need annotation even though they don't appear on the initial map, use an image editor and a screenshot tool to patch these objects into the map
- Make sure the quality stays lossless - take screenshots as PNG!
- You will not always be able to fit every object on the map. You can consult with others to see what would be good to include and what wouldn't
- If your map is 1MiB or bigger in size, we recommend optimizing it. You can try using tools such as FileOptimizer to optimize your map images.
- Upload the map to the wiki named in the format of
<location> map.png. - You're done!
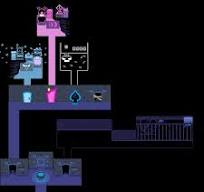
To see examples of what we mean, it's best if you take a look at our current map images available on the wiki. The Dark Sanctuary map in particular is a good example of a complex area being assembled into a map from individual room images and a lot of patches.
To adapt the images for use on interactive maps, they should:
- Contain all relevant areas of that location on them (no missing areas)
- Have locations that are close to each other be as close as possible on the actual map
- Not contain the player character on them
- Not contain any manually added text, markers or lines (they will be added through the map annotations)
- Contain all game objects that we might need to annotate
- Not contain any debug markers
I want to annotate maps
Annotating maps
Set up your annotation environment
-
Install Tiled (It's free! But you can also pay for it if you like it)
-
Download the maps repository from this link, then extract the ZIP file you downloaded into a folder
- If you know how to use Git, you can clone the repository with
git clone https://github.com/utdrwiki/maps.git.
- If you know how to use Git, you can clone the repository with
-
Open the folder, then navigate to
maps/ -
Inside that folder, you should see a
deltarune.tiled-projectfile. Open that file in Tiled. -
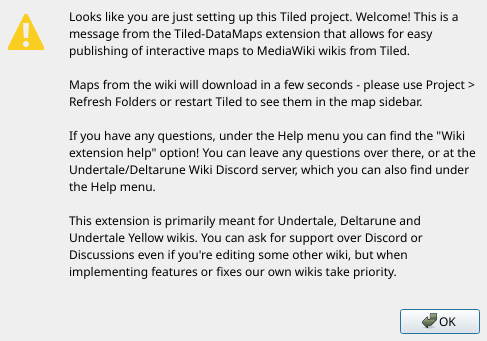
In the upper right corner, you will see a notification that tells you there are scripted extensions in the project. Use "Enable Extensions" to enable them, this will allow you to publish the maps to the wiki!

-
You will see a message that looks like this:
-
Use the Project > Refresh Folders option, or restart Tiled, to see the maps in the project view
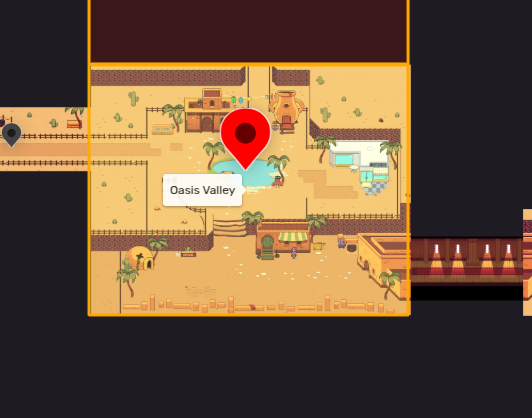
On the left hand side you should see a view of all maps currently in the repository. Select a map from there, and your screen should look something like this:

The below sections explain more about how different parts of the editor correspond to how the map will look like on the wiki.
Layers
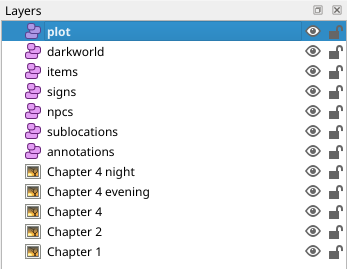
On the right side of your Tiled screen, you will see map layers. At least one of the layers is an image layer with the map image, one of the layers is an object layer named "annotations", and the rest are object layers with markers.
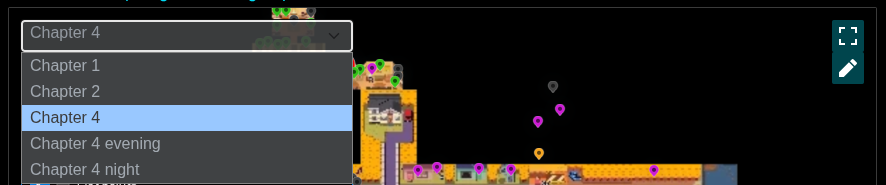
The image layer will be set up for you and you don't have to worry about it, but its name is generally unimportant. When a single map has multiple backgrounds, the name of the image layer is used for determining the name that appears in the map background picker, such as on the Hometown map:
The annotations layer is a special layer for lines and rectangles that mark certain areas, and the rest is for placing map markers. You can place lines and rectangles in any layer, but they will eventually end up in the annotations layer.
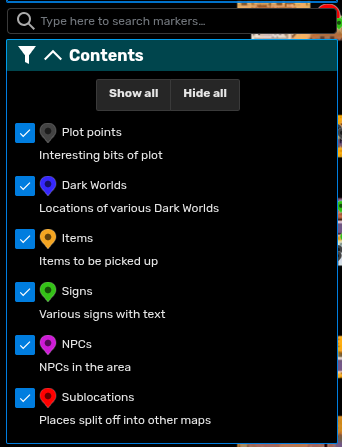
You can find all defined layer names and their meanings here. If you think we need more marker groups for more types of markers, please propose them in replies! These layers define what are called marker groups, which you can see in the map's legend:
Adding markers
To insert a marker, first select this tool from the toolbar:
![]()
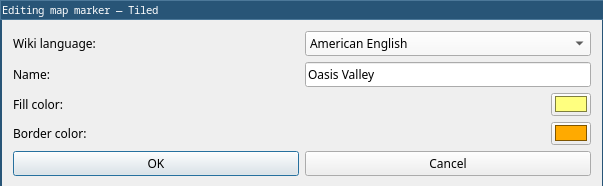
Then, select the layer in which you want to place the marker. For example, let's place an Alvin marker, so we'll select the npcs layer here. Then click on the map where Alvin is located, and a marker will be created, and a popup will open with fields like this:
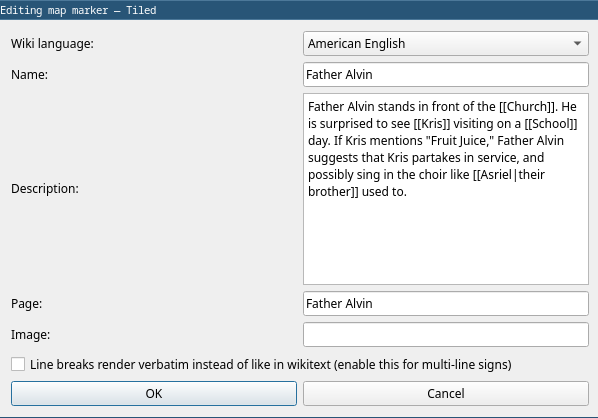
Properties of relevance are the following:
- Wiki language: If non-English Undertale or Deltarune wikis are translating our maps, they can change their language here to translate them. If you're publishing maps to the English wiki, leave this dropdown alone.
- Name: Name of the marker. Since we're describing Father Alvin here, the name is "Father Alvin".
- Description: What does the marker represent. Here we describe what Father Alvin does in this particular location in broad strokes.
- Page: If the subject of the marker has a related wiki page or section, insert the name of the page or the name of the redirect to the relevant section in this field, and it will display a "read more" button linking to it.
- Image: Rarely, it might be useful to show an image inside the marker, when needed to depict something that is off-map. You can insert a file name of a wiki file in this field to display that image in its popup.
- Line breaks render verbatim: If you're working on markers for signs and other objects with flavor text, check this option so that single new lines in the marker description create new lines. You don't have to add this every time your marker has multiple lines, though, only if you need 1 new line in the source to equal 1 line break when rendered.
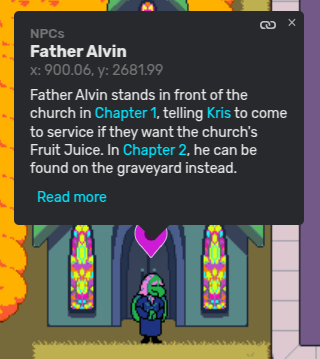
The marker that we now added, when converted into an interactive map, now produces a marker like this:
If you ever wish to edit properties of markers, you can select them using the Edit Objects tool:
![]()
Once selected, the same popup as before will display. If you don't want popups displaying when you select objects, you can disable it under Edit > Enable marker popup.
Adding lines
To add a line onto the map, use the following tool:
![]()
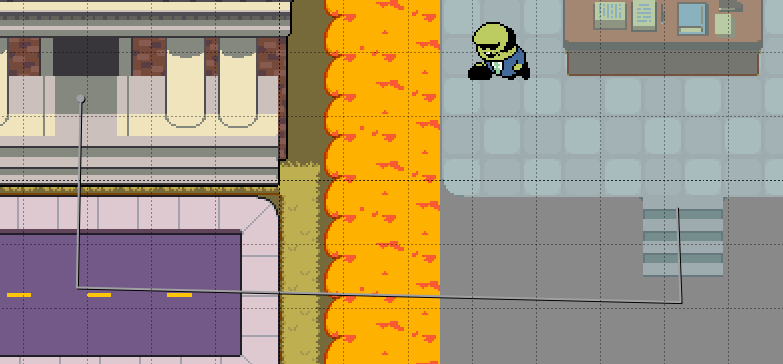
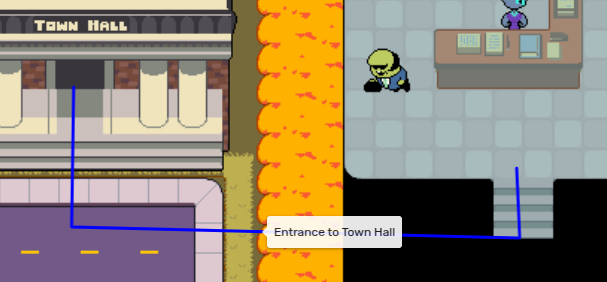
To start adding a line, click on the map. To add a new point of your line, click on the map again. To finish adding the line, right-click on the map. For example, I accomplished the following line with four left-clicks and one right-click:
Once added, the following popup displays:
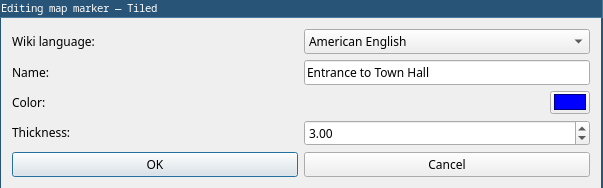
You can change the line color to whichever color wasn't already used on the map for lines or rectangles, and you can leave the thickness at the default value. This is how our line looks like when rendered:
Adding rectangles
You probably got a hold of this by now, so I'll keep this short. Rectangles are added using this tool:
![]()
Here's a rectangle example from the Dunes map on the Undertale Yellow Wiki:
The popup for that rectangle looks like this:
Publishing maps
Under the File menu, there should be a "Publish to wiki" option that you can select. Once you do that, you should see a dialog like this:
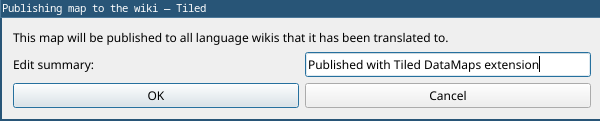
The "edit summary" field lets you write an edit summary for your changes, so that other users can understand what you did in your edit.
Once you hit "OK", you will be sent to log into the wiki. In your web browser, a web page with the following prompt should open:
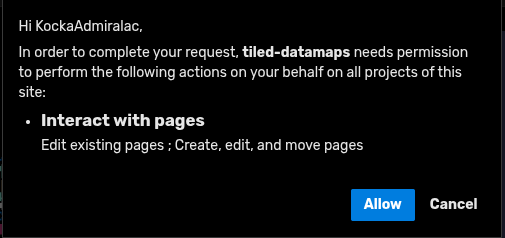
Once you hit "Allow", it takes you to a page that looks like the following:
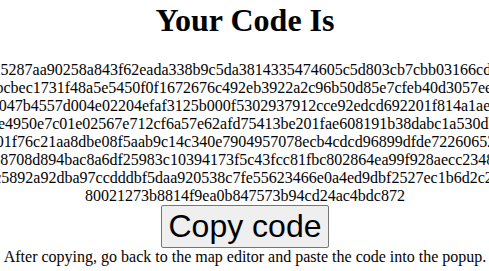
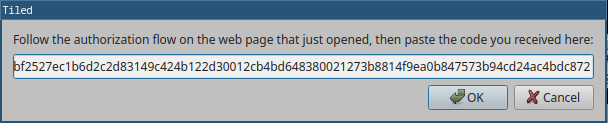
Hit "Copy code", go back into Tiled and copy that code back into the dialog that opened:
Once the map has been published, you should see this:
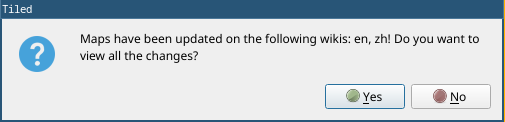
If you select "Yes", the links to your on-wiki changes will open in your web browser.
Pulling changes from the wiki
This workflow allows multiple editors to edit maps on the wiki, whether through Tiled or through the less sophisticated JSON editor on the wiki. You should publish the map you're working on frequently! Somebody else may change the map, and you might get into conflicts.
If you open a map that's different from the on-wiki version, you will see this message:
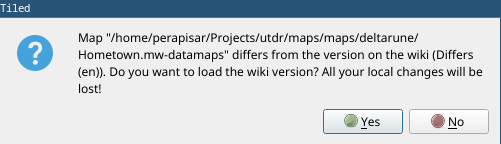
If this is a map you recently worked on, but haven't published, you can ignore the message. Otherwise, please pull the changes from the wiki!
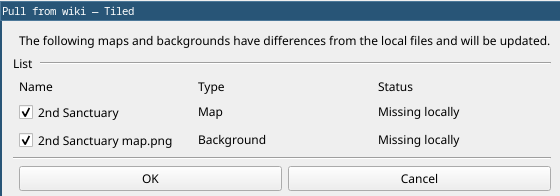
If there is map on the wiki that wasn't there when you first downloaded the maps, you can select File > Pull from wiki. It will open a dialog like this, which allows you to select which maps and map backgrounds to pull from the wiki into your local maps:
How do you receive a reward
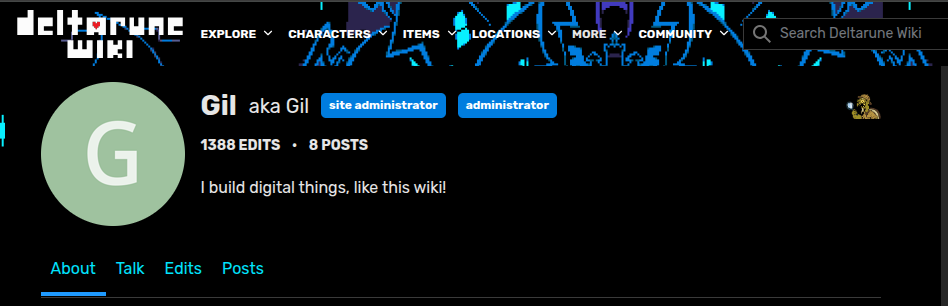
By participating in this project, you can receive the Mapper of Justice badge! Anyone who creates a usable map image or contributes a few markers to any interactive map is eligible for it.
This is how the badge would look like on your wiki profile: